5.UART数据传输测试
该教程演示如何通过开发板实现UART数据传输测试。
一、准备工作
- 准备1块BearPi-Pico RP2040开发板
二、编写代码
创建空程序。
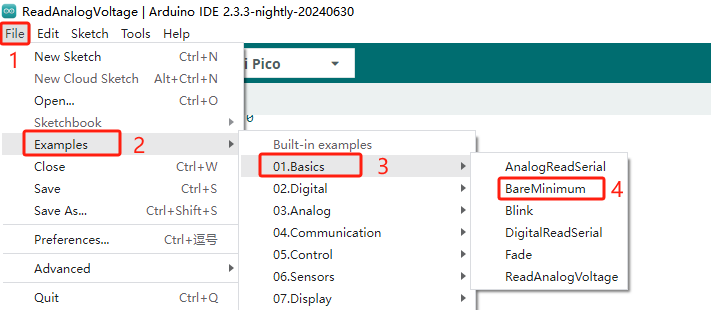
编写 串口测试程序
#include <Arduino.h>
#include <Serial.h>

#define  txpin   0
#define  rxpin   1

UART mySerial(txpin, rxpin); // 创建Serial对象

void setup() {
// put your setup code here, to run once:
Serial.begin(9600);//USB CDC
pinMode(LED_BUILTIN, OUTPUT);
mySerial.begin(9600);
}

void loop() {
// put your main code here, to run repeatedly:
int ledState = digitalRead(LED_BUILTIN);
ledState = !ledState;
digitalWrite(LED_BUILTIN, ledState);
mySerial.write("From USART Txpin gpio0\r\n ");//串口发送数据
delay(500);
static String receivedData; // 存储接收到的字符流
while (mySerial.available()) { // 检查是否有可用数据
    char data = mySerial.read(); // 读取串口接收到的数据
    receivedData += data; // 将数据添加到接收到的字符流中
}
if (receivedData.length() > 0) {
    Serial.print("Received: "); // 通过USB CDC打印接收到的数据
    Serial.println(receivedData);
    receivedData = ""; // 清空接收到的字符流
}
delay(1000);
}
接入RP2040开发板,打开开发板和端口设置界面。
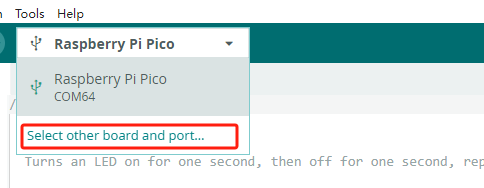
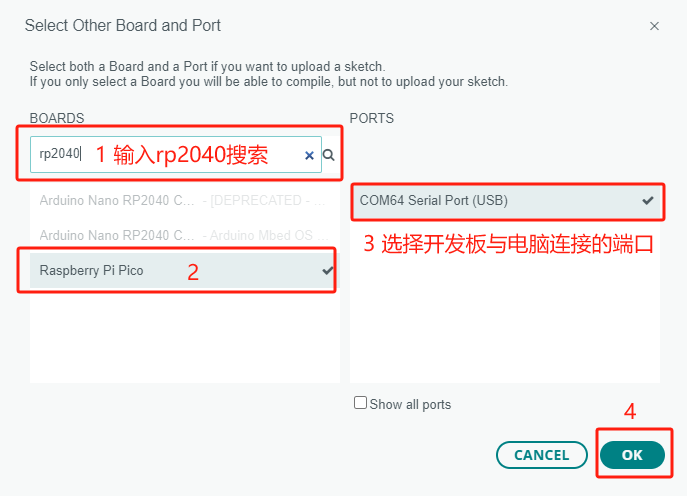
选择Raspberry Pi Pico开发板与端口。
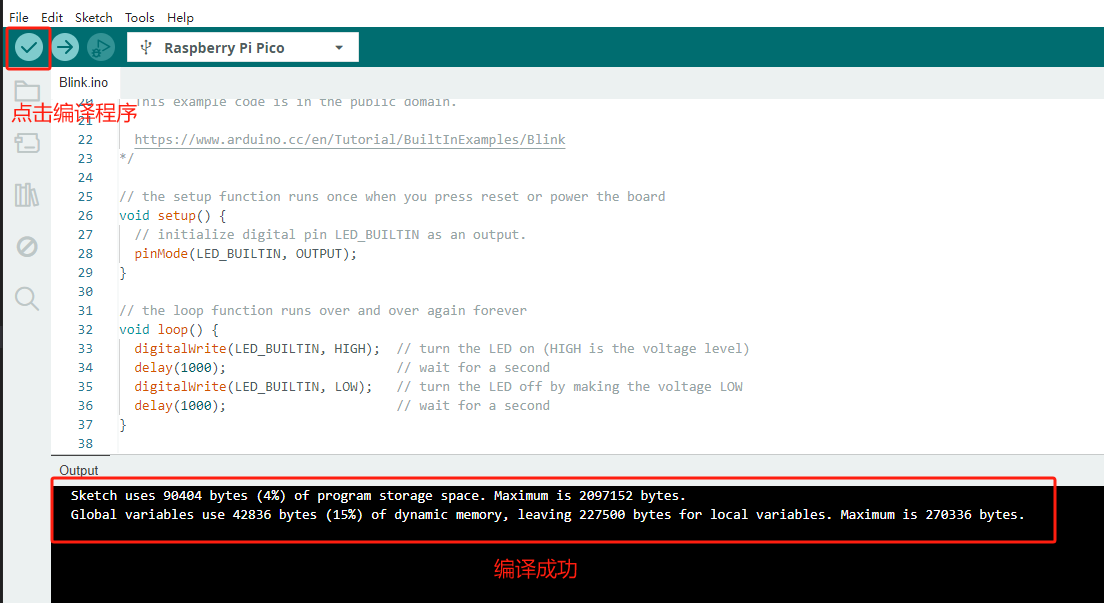
编译程序。
三、测试
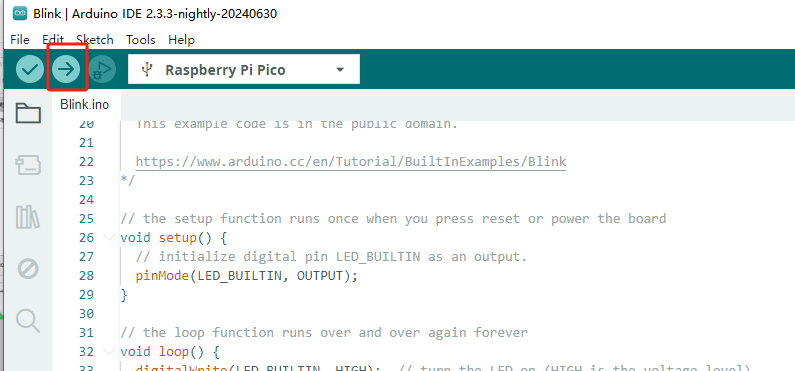
点击烧录程序 。
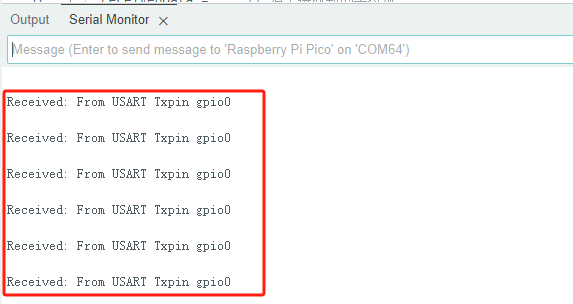
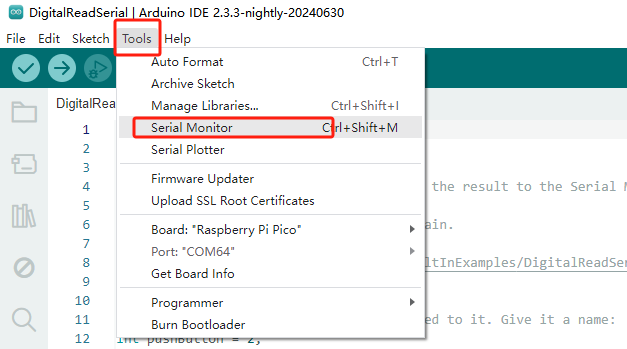
打开串口终端。
用杜邦线将GPIO0和GPIO1短接,观察串口打印 。